🚚 Limited free delivery on orders over $120*

Dreemi mattresses feature five innovative layers designed to deliver optimal comfort for every type of sleeper.
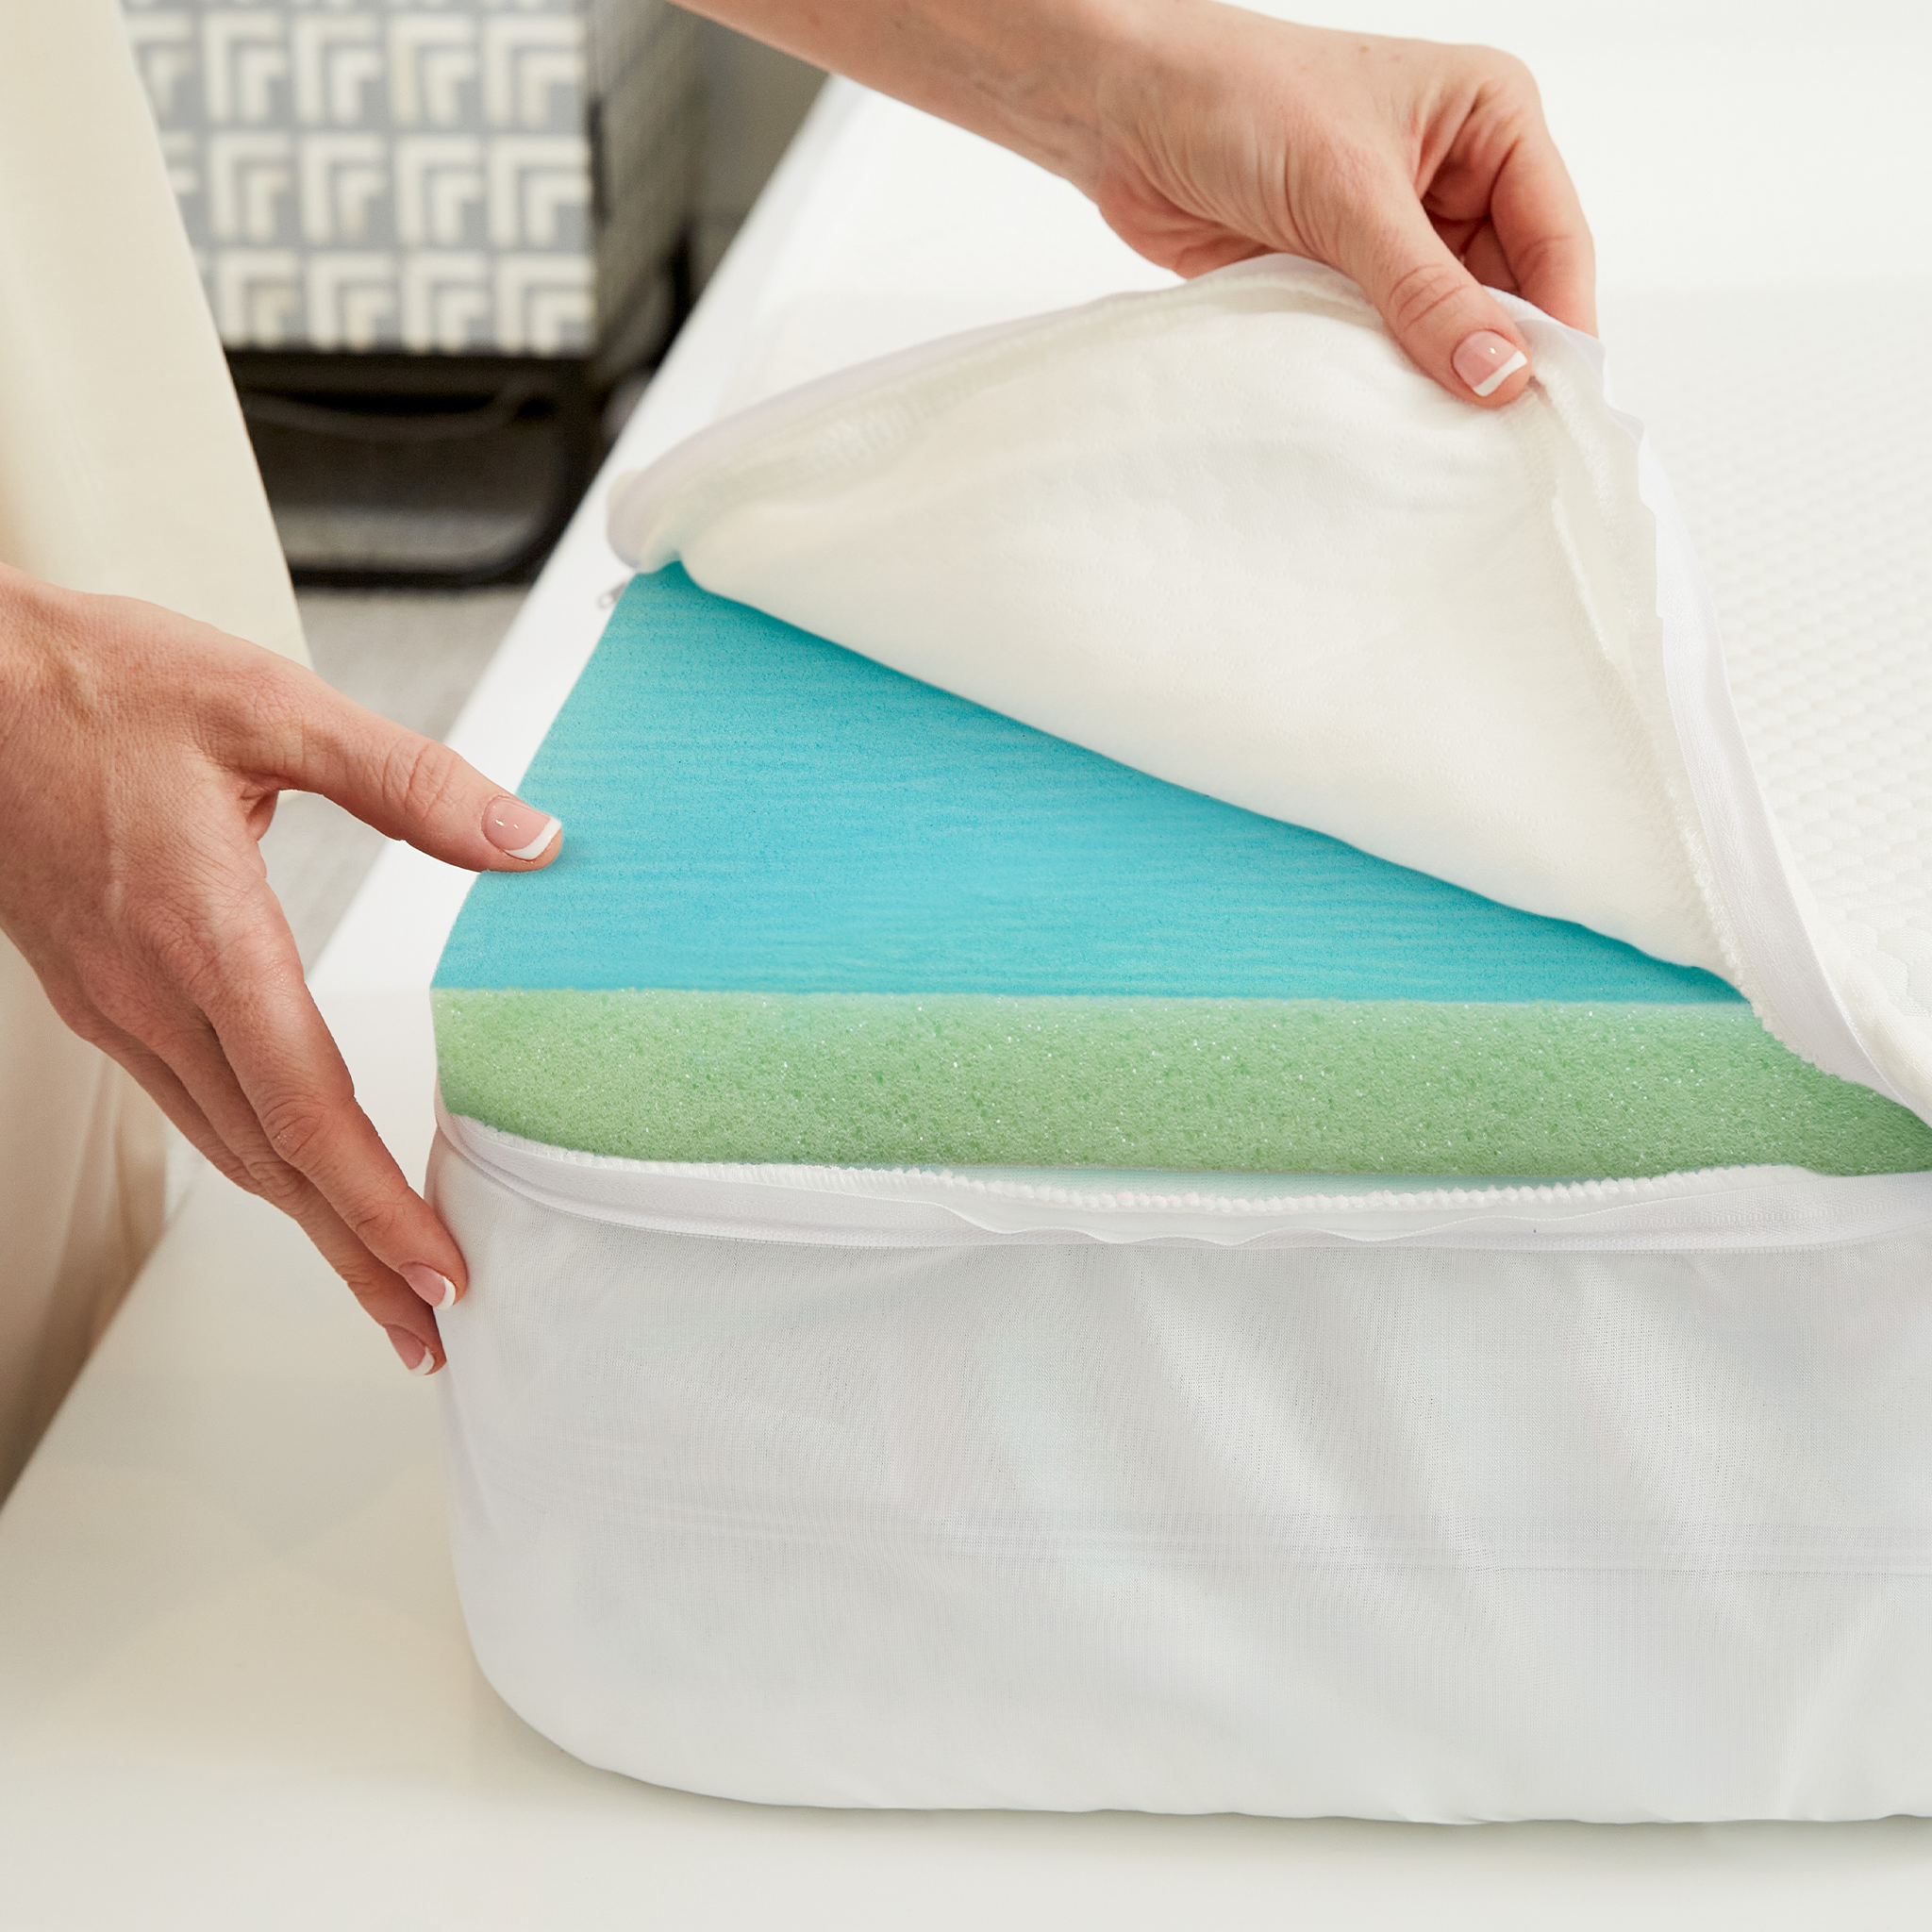
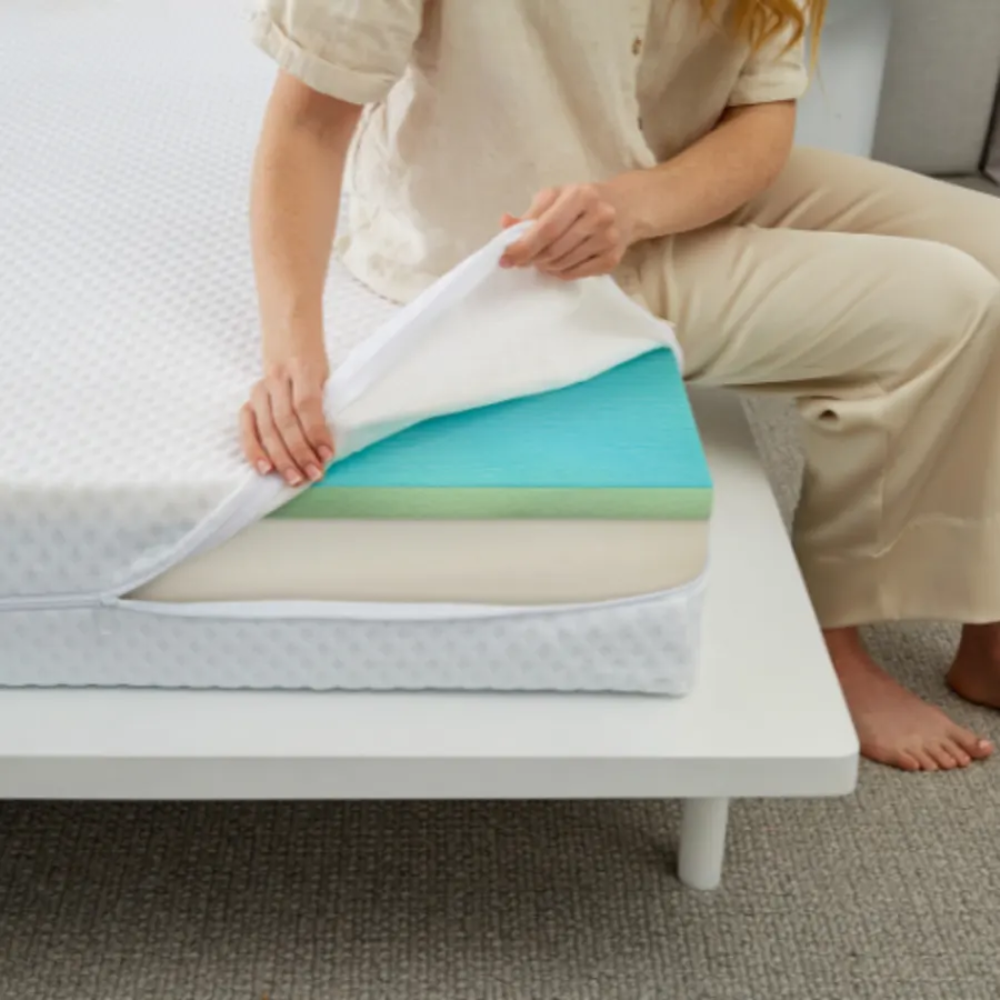
Upgrade your sleep without a whole new mattress with our premium toppers.

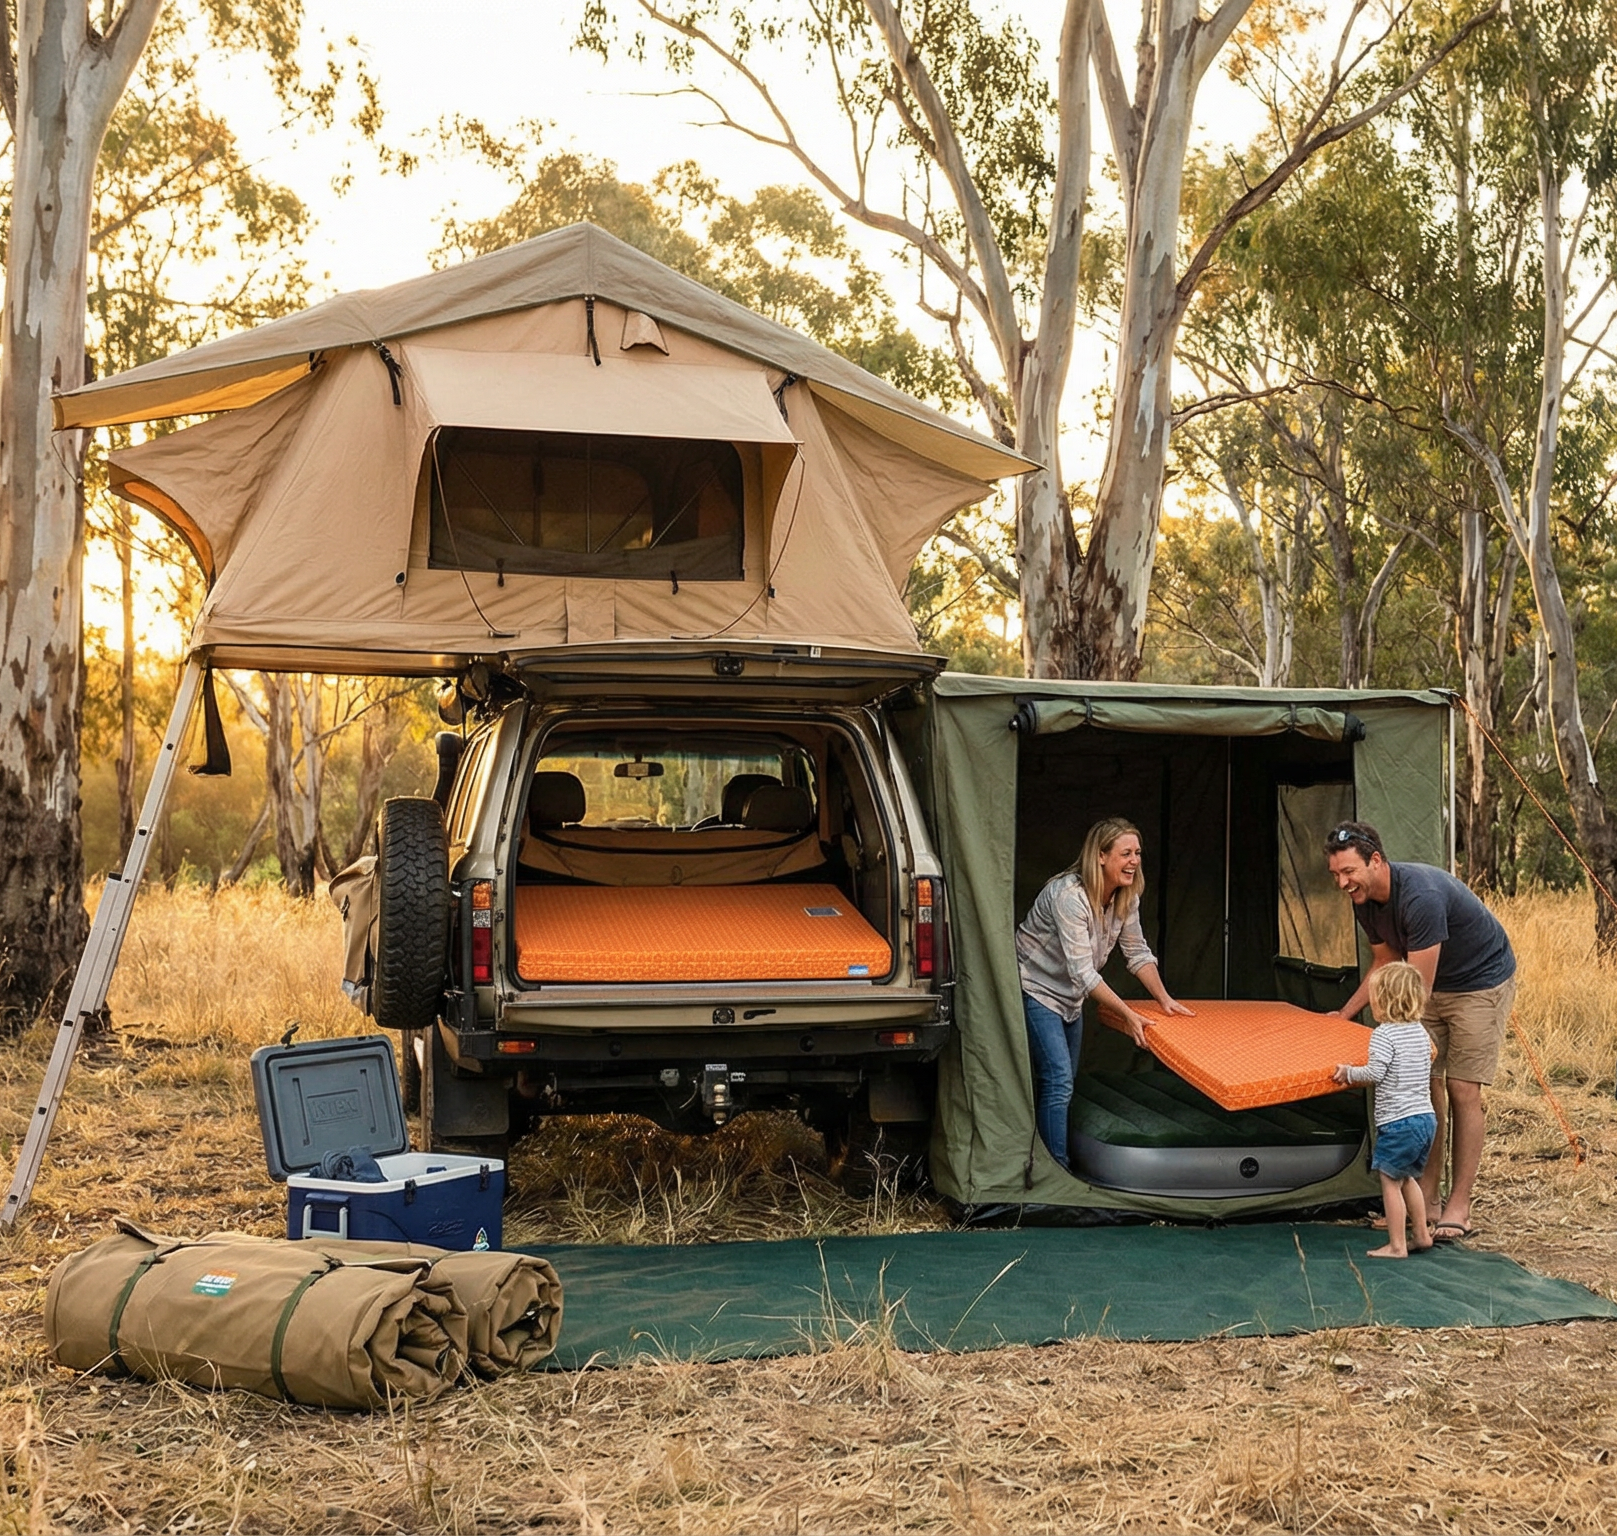
Caravan, campervan, camper trailer, or boat - we can tailor make a mattress to your specifications.
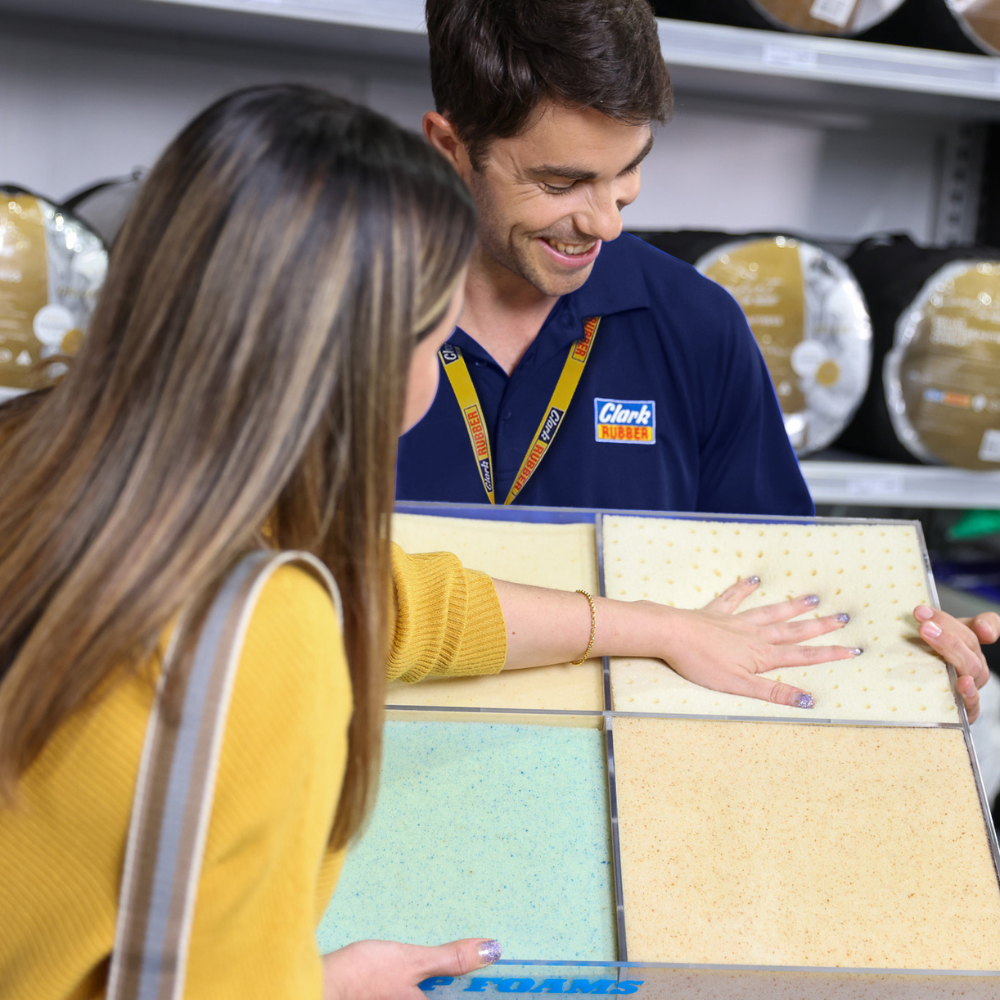
From lounges, chairs, cushions and daybeds, to soundproofing and packaging, Clark Rubber can custom cut foam for exactly what you need.
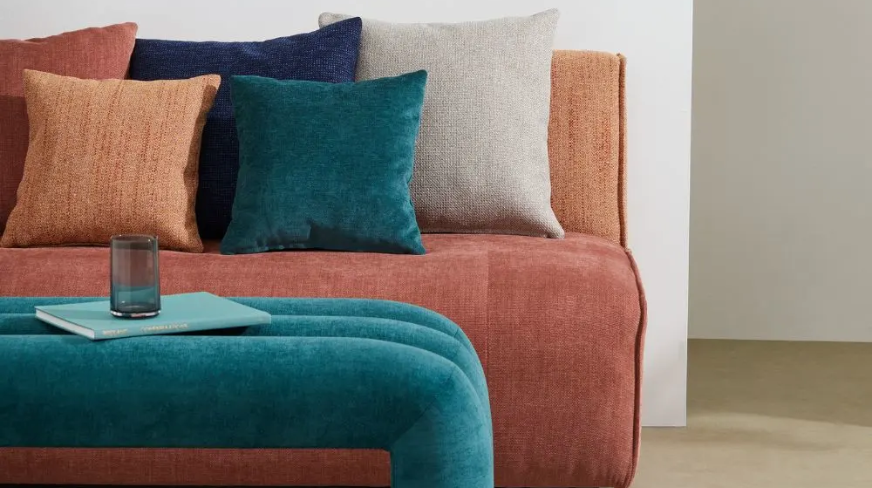
Custom create your dream cushions in 3 easy steps: Fabric, Foam & Finish.

Add your team's logo to our foam sports equipment. Available in 4 colours and multiple sizes; perfect for any team.
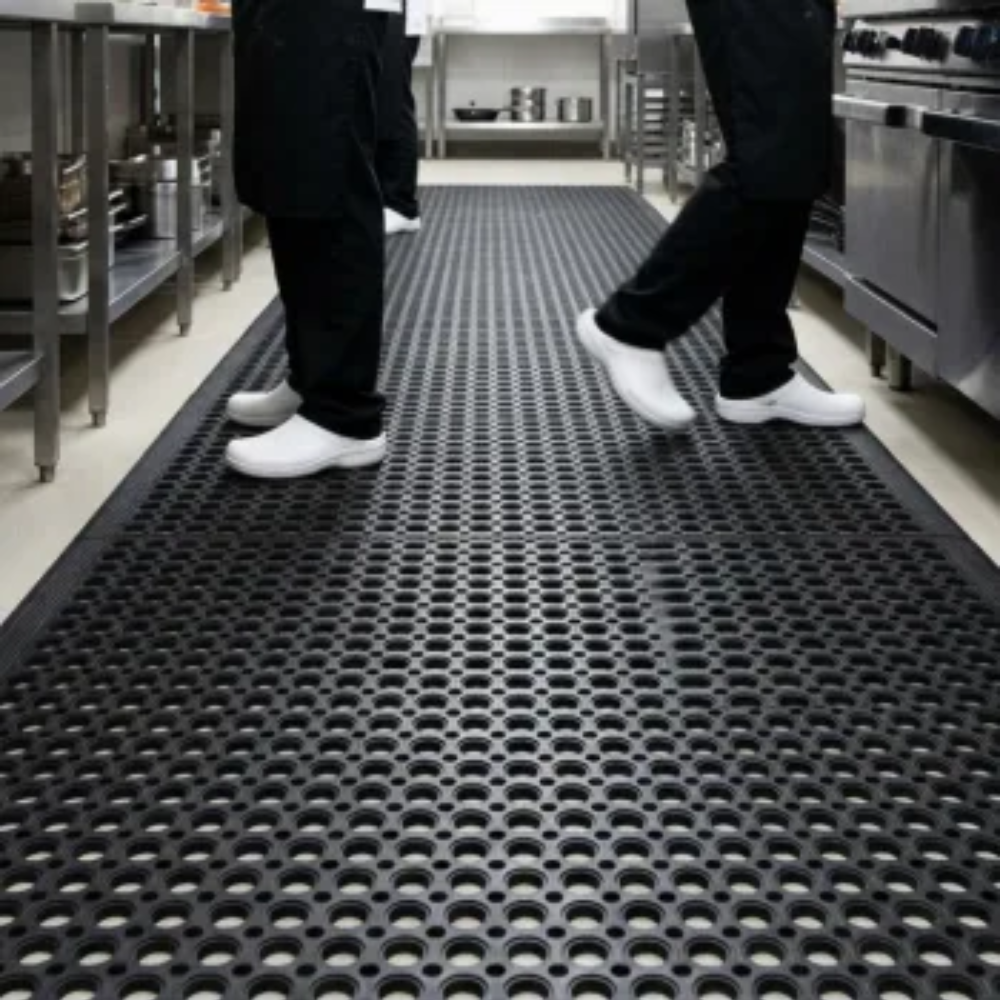
From entrance mats to anti-fatigue, carpet, and custom logo mats, we’ve got the perfect solution for every space.

Ute matting provides durable protection for your vehicle tray, helping prevent damage from heavy loads and everyday wear.
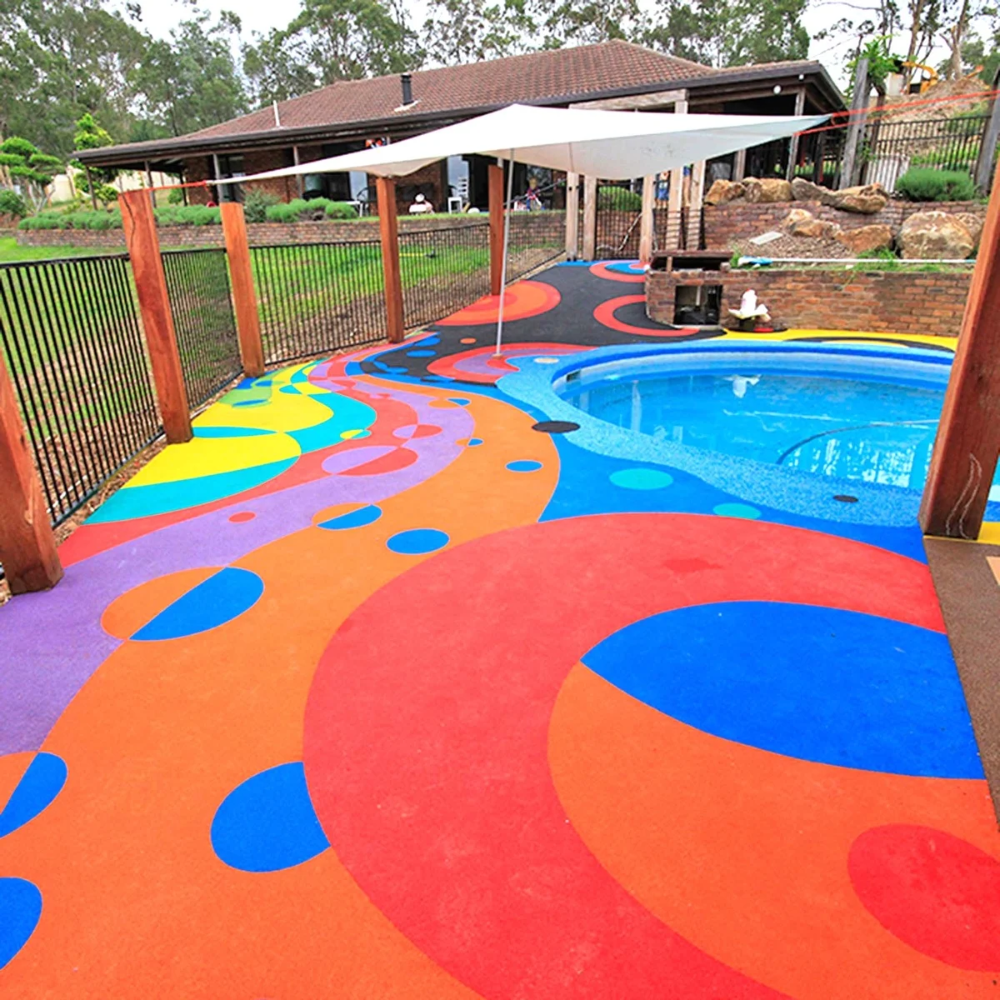
From playgrounds to pathways, garden paths to pool surrounds, Wet Pour Rubber can be formed to any shape.
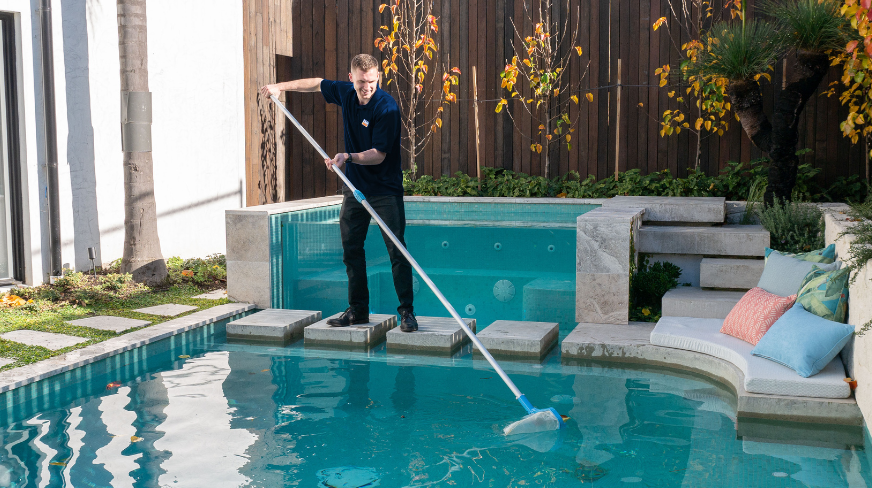
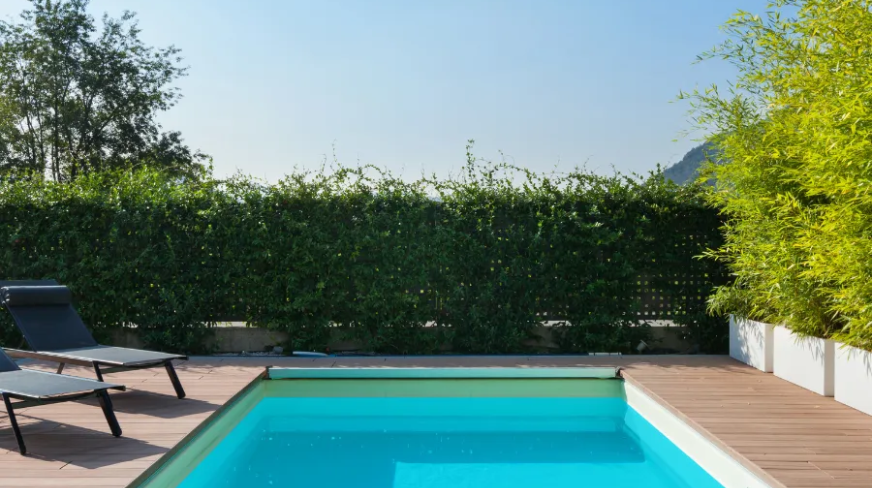
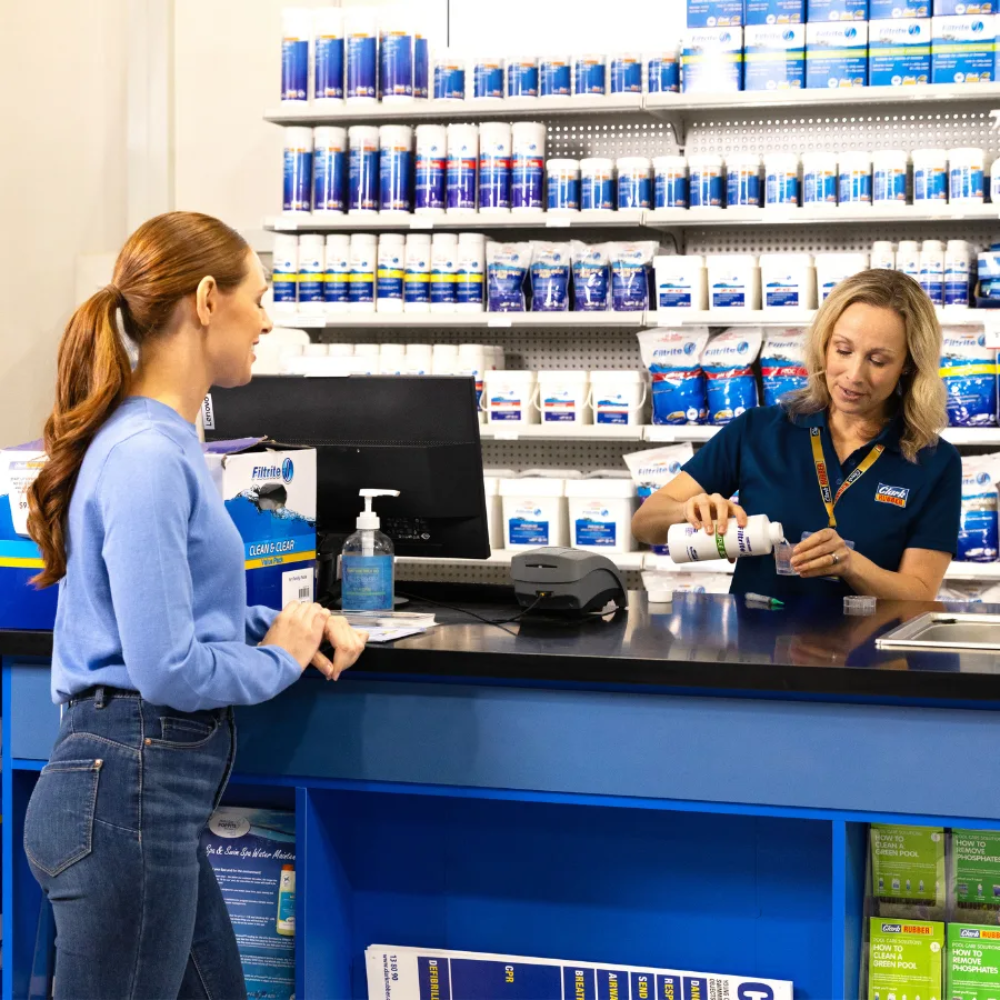
We offer a great range of services to look after your pool and keep it crystal clear all-year-round.
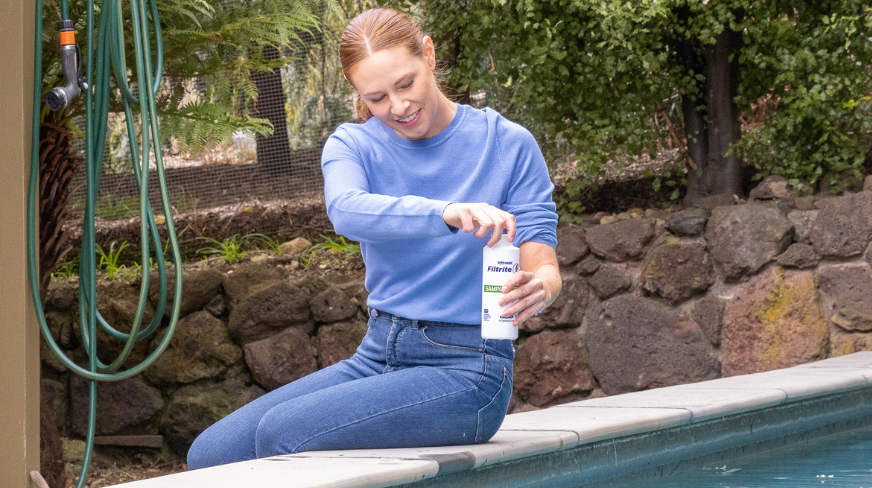
Bring a sample of your pool water into store in a clean bottle and our team will test it for several key factors.
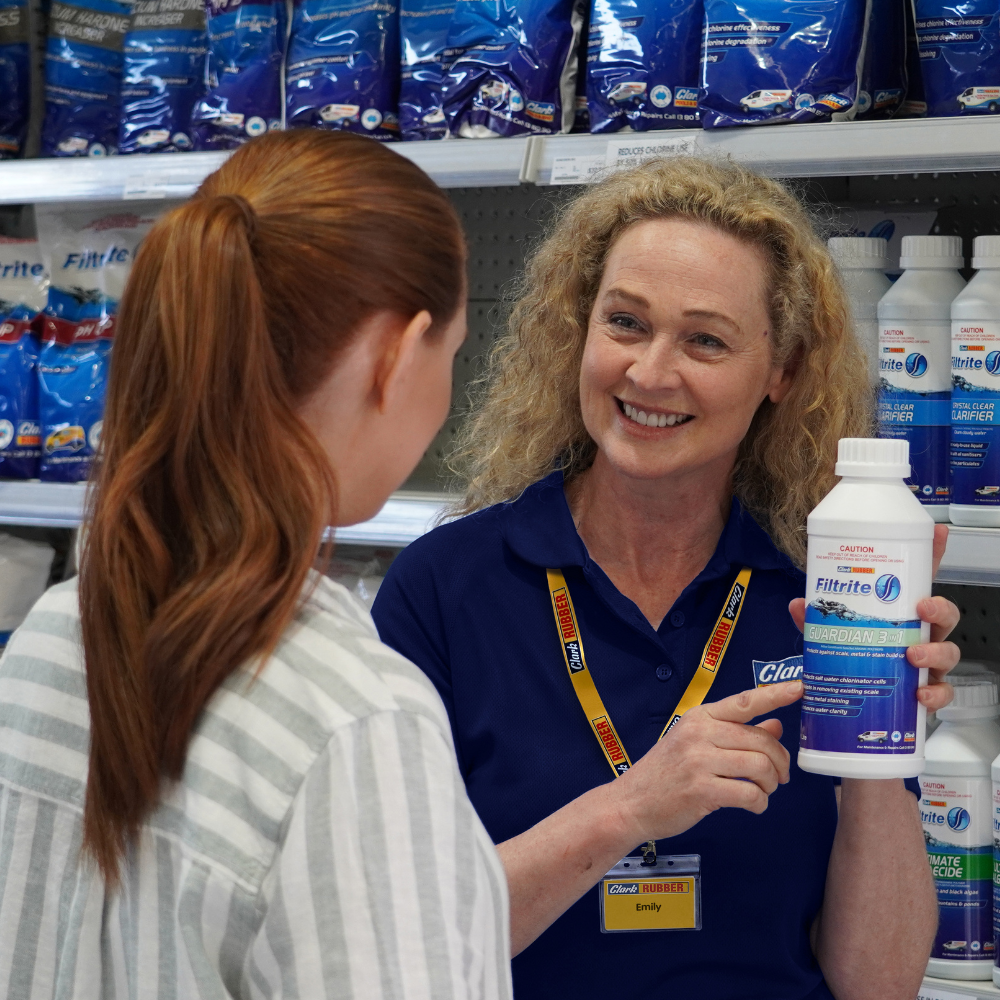
Our Superstores have everything you need to keep your pool or spa in top condition so you can enjoy it for longer.
Explore our blog for expert tips and advice on keeping your pool and spa in top condition.
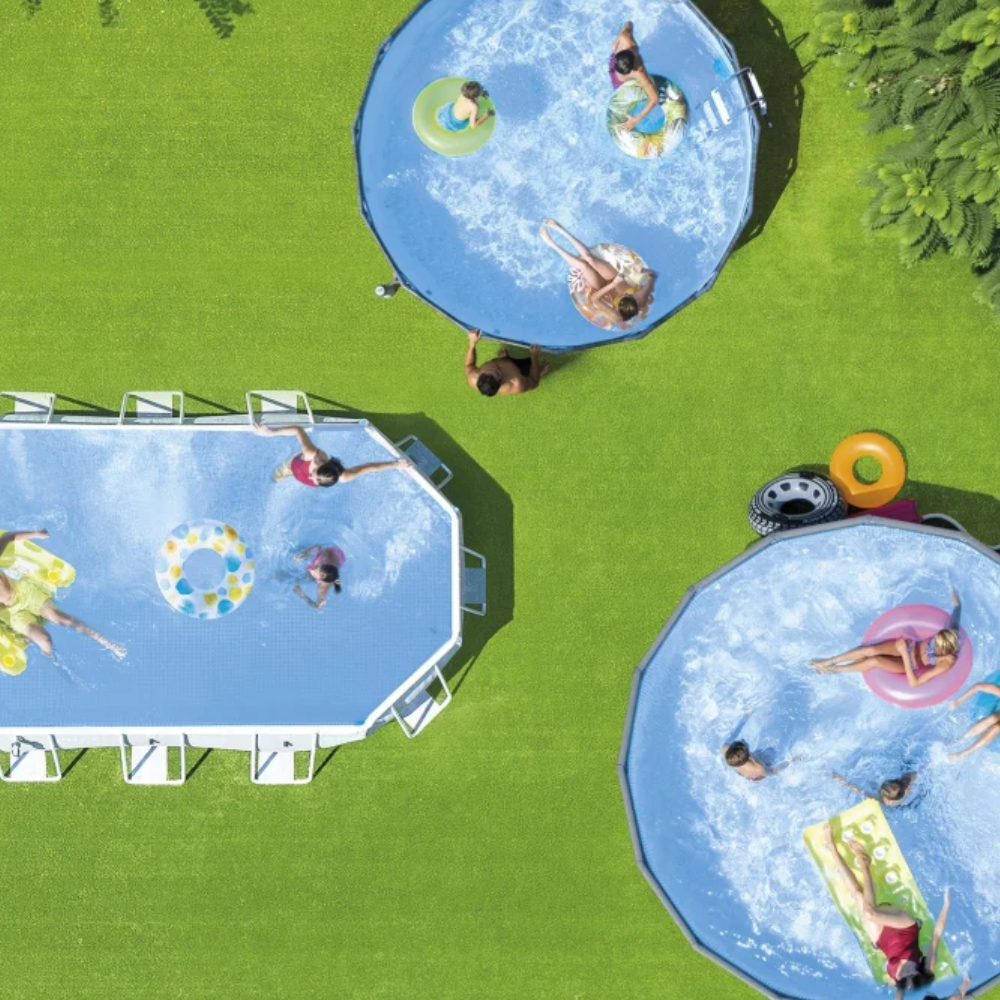
Portable pools are an easy and affordable way to bring fun to your backyard.

Discover the Learn to Swim range, designed to introduce children to the water in a fun and enjoyable way.

Swimply is like Airbnb for pools: rent one out for a few hours of fun or a special event.

With our spa experts, it’s easy to keep your spa clean, in good working order, and always ready to relax in.
Bring a sample of your spa water into store in a clean bottle and our team will test it for several key factors.
Our Superstores have everything you need to keep your spa in top condition so you can enjoy it for longer.
Custom create your dream cushions in 3 easy steps: Choose your fabric, choose your foam & choose your finish.

Create a safer, more comfortable workout space with durable gym mat flooring.
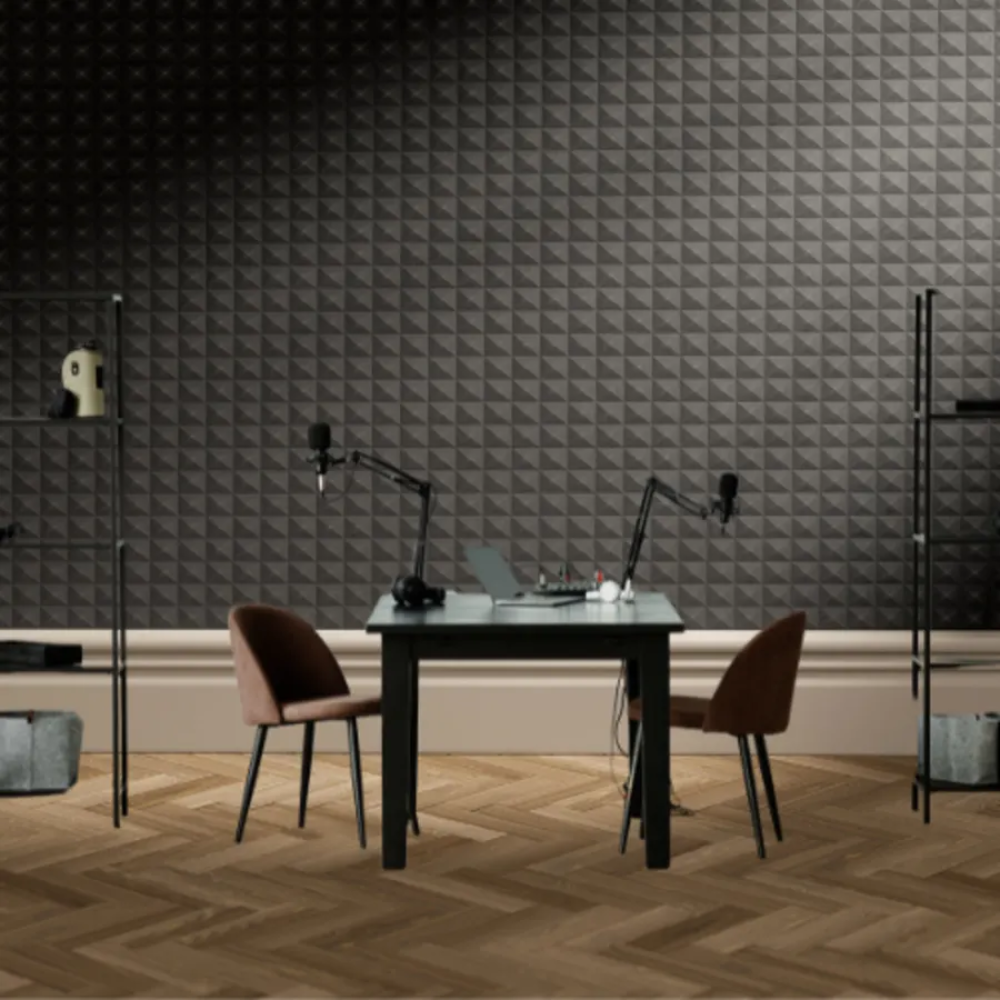
Read our step-by-step guide on how to set up a podcast space using our acoustic foam.
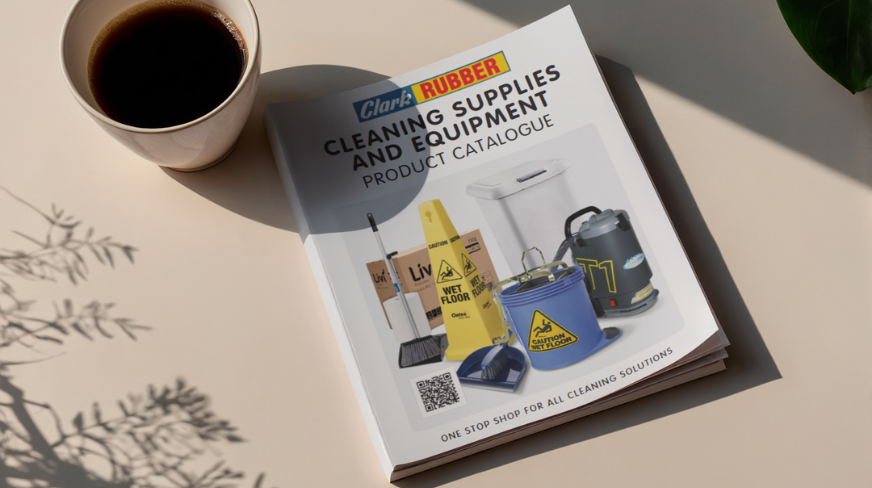
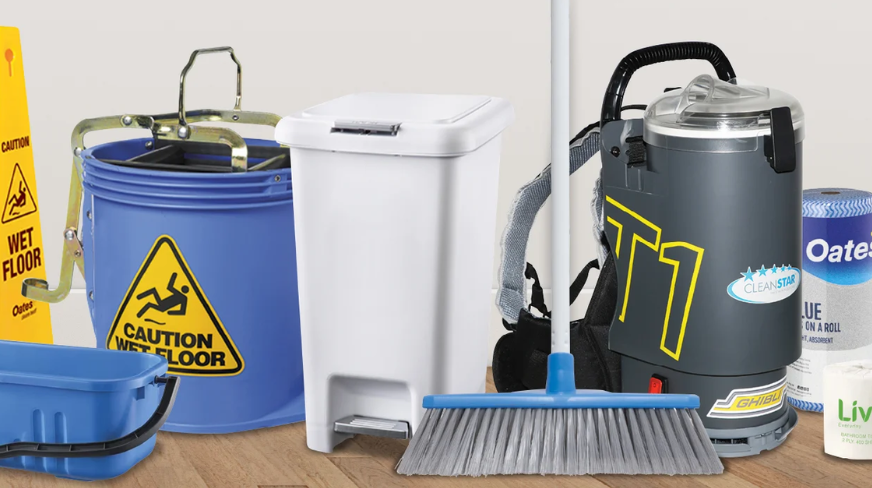
Find the right cleaning products for your business with our easy-to-follow guide.
Sign up for a Business Account with us to easily access your invoices, order history, and apply for a credit account.
We offer a great range of services to look after your pool and keep it crystal clear all-year-round.
Bring a sample of your pool water into store in a clean bottle and our team will test it for several key factors.
Keep your pool running smoothly and your water crystal clear with a professional equipment check.
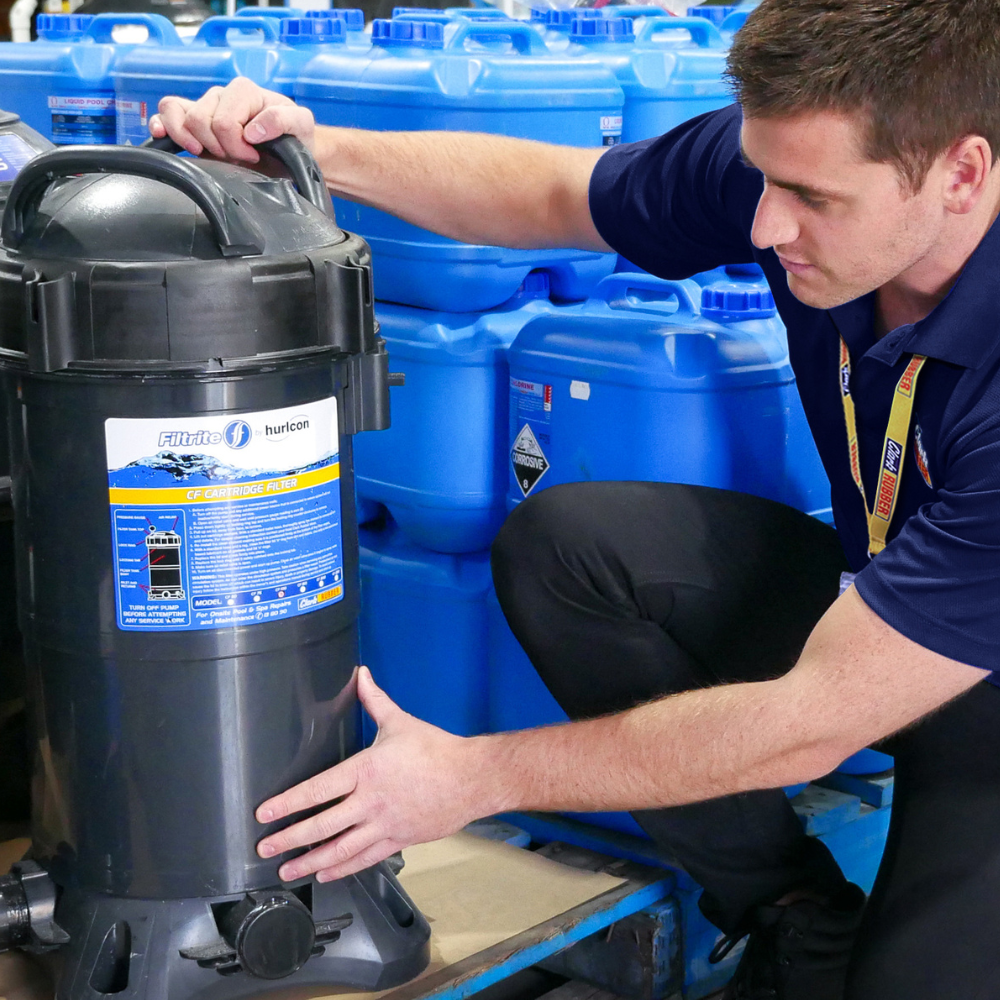
Our experienced technicians can repair your equipment or recommend the right replacement for your pool.
With our spa experts, it’s easy to keep your spa clean, in good working order, and always ready to relax in.
Bring a sample of your spa water into store in a clean bottle and our team will test it for several key factors.
Custom create your dream cushions in 3 easy steps: Choose your fabric, choose your foam & choose your finish.
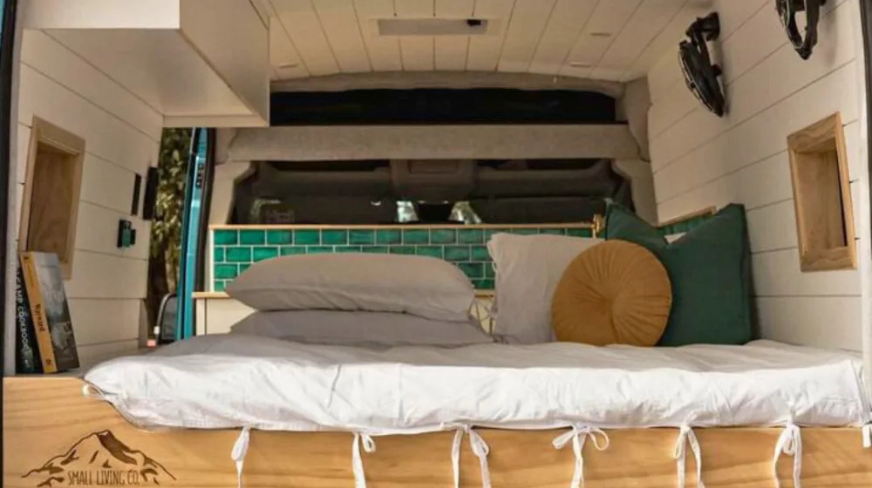
Caravan, campervan, camper trailer, or boat - we can tailor make a mattress to your specifications.
Add your team's logo to our custom branded foam sports equipment. Available in 4 colours and multiple sizes.
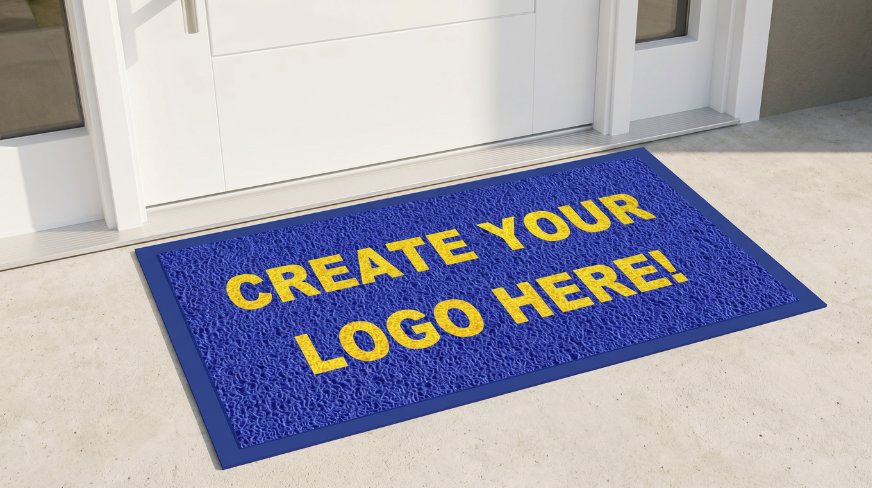
An entrance way is the place to make first impressions and a customised logo mat is the perfect way to do this.
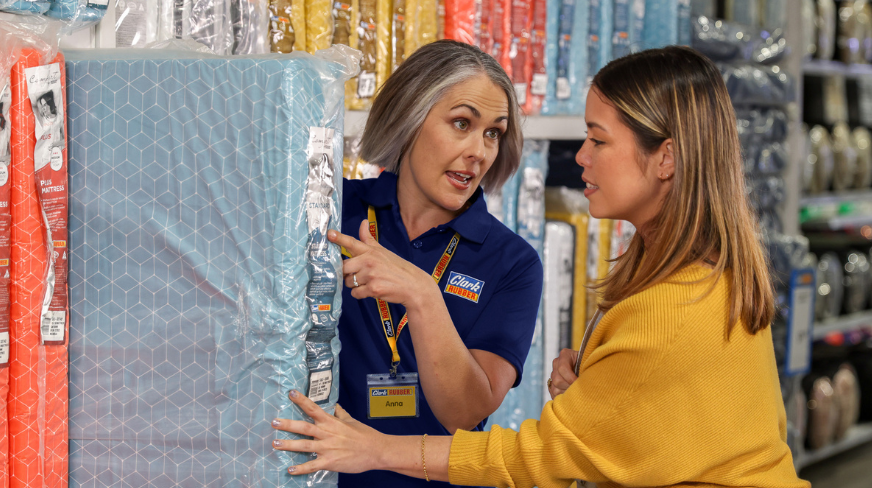
Need a mattress trimmed to size? Buy any of our Comfort mattresses in-store and we can cut it the exact size you need.
From lounges, chairs, cushions and daybeds, to soundproofing and packaging, Clark Rubber can custom cut foam for exactly what you need.

Get the perfect fit every time with our cut-to-length flooring and matting, tailored to suit your space and needs.
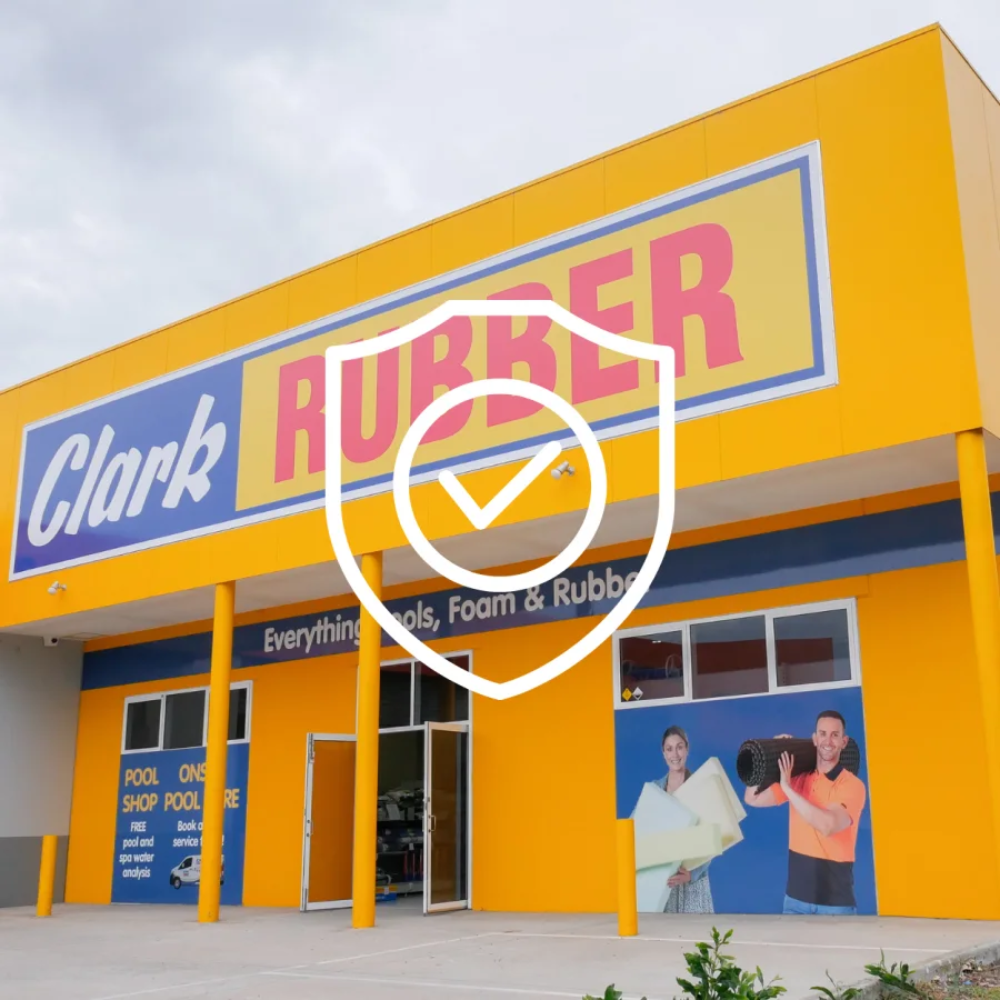
Find a store near you to see our products in person, or ask our expert staff for advice on anything pools, foam, rubber, or cleaning.
Our Superstores have everything you need to keep your pool or spa in top condition so you can enjoy it for longer.
Swimply is like Airbnb for pools: rent one out for a few hours of fun or a special event.
Is your pool green, cloudy, and unusable? The good news is it can be fixed quickly with the right steps.

With the right setup, you can build a practical, effective home gym that supports everything from quick workouts to full training sessions.
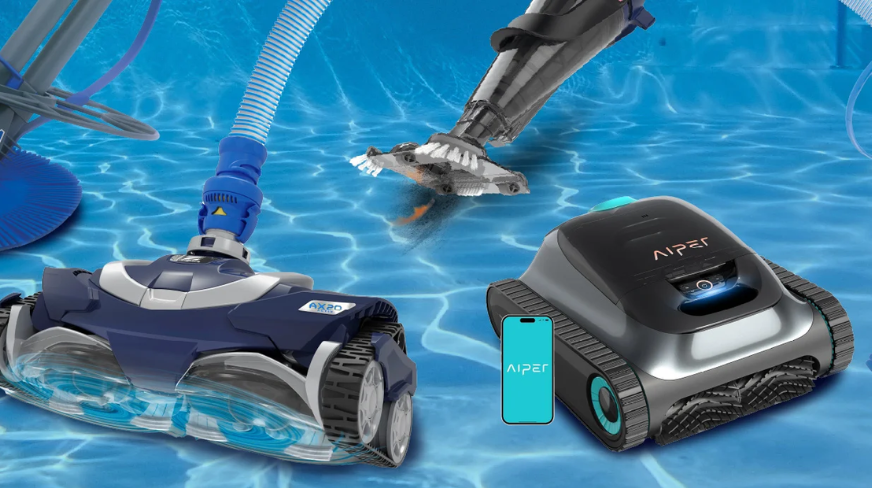
How to choose a pool cleaner to keep your water clean and inviting all year round.
Say goodbye to tossing and turning at night. Clark Rubber’s brand-new Comfort Platinum Cool Max offering is here to redefine how Australians sleep.
We believe in setting franchisees up for success from day one. Here are the top 10 franchise mistakes to avoid and how we help you navigate them.
Large format retail is a dynamic and fast-growing sector that plays a major role in shaping Australia’s retail landscape.
In today’s fast-paced world, mobile franchises are a smarter way to own a business without the need for a traditional storefront.
Simple Ways to Stop Draughts: Rubber Seals or a DIY Door Snake
A draughty front door can make your home feel colder, let dust inside, and increase heating costs. The good news is you don’t need a major renovation to fix it. Two practical, and affordable options can make a noticeable difference straight away.
This guide walks you through rubber seals options, and how to make your own DIY door snake. This guide is to help you decide what suits your home and budget best.
Why are your Windows and Doors letting in draughts?
Before choosing a solution, it helps to understand the problem. Most draughts around front doors come from:
Small gaps along the sides or top of the door
A larger gap at the bottom (commonly found on older doors)
Slight warping in the door or frame over time
Worn-out or missing seals
Even a narrow gap can let in a surprising amount of cold air. Fixing it is less about sealing everything perfectly and more about reducing airflow in the simplest, most effective way.
Option 1: Rubber seals (adhesive foam tape)
Rubber seals are one of the easiest and most effective ways to block draughts around the edges of your door. They’re designed to fill small gaps between the door and the frame, creating a barrier against air movement.
How adhesive foam tape works
Adhesive foam tape is applied directly to the door frame. When the door closes, it presses lightly against the foam, sealing the gap.
It’s a popular option because:
It’s quick and easy to install
It doesn’t require tools beyond scissors
It creates a more consistent seal than loose solutions
You can explore suitable options here
When rubber seals are the right choice
Rubber seals are ideal if:
You feel draughts coming from the sides or top of the door
The gaps are small and fairly even
You want a longer-term solution
You prefer something that stays in place without adjustment
They’re less effective for large gaps under the door, where a different approach works better such as creating a door snake. You can find the crumb foam that you will need for a door snake instore and on our website.
Keep reading this blog to find a step-by-step guide on how to make your own door snake.
Simple installation steps
You don’t need to be particularly handy to install foam tape. A basic approach looks like this:
Clean the surface
Make sure the door frame is dry and free from dust so the adhesive sticks properly.
Measure the edges
Cut the foam tape to match the height and width of the frame.
Peel and stick
Apply the tape along the frame where the door meets it.
Test the seal
Close the door and check for resistance. You want a snug fit, not a struggle to shut it.
Practical benefits
Helps maintain indoor temperature
Reduces outside noise
Keeps out dust and insects
Low-maintenance once installed

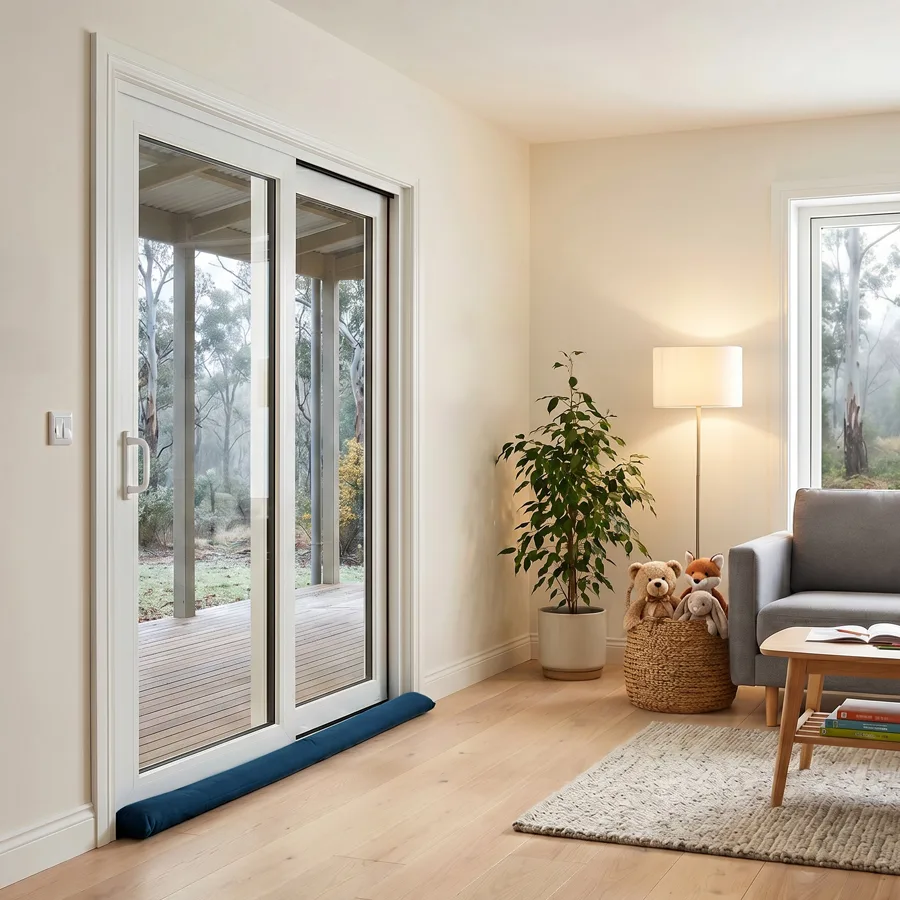
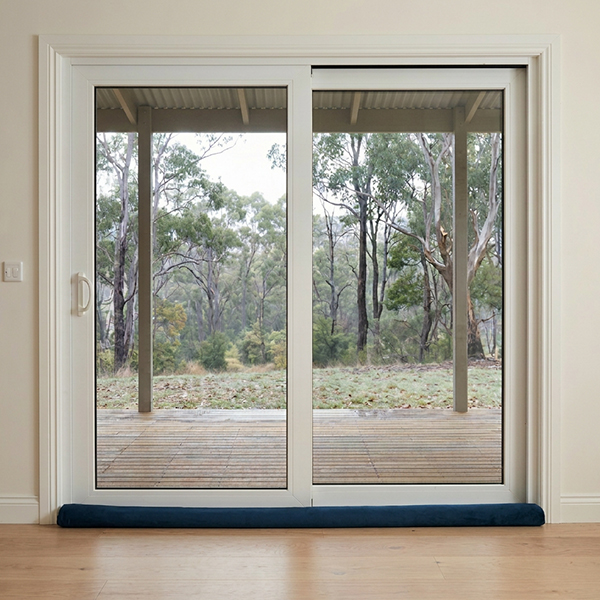
Option 2: A DIY door snake
If your main issue is a draught coming from underneath the door, a door snake is a simple and flexible solution.
A door snake sits along the base of the door, blocking airflow through the gap at floor level.
Why a DIY option works well
You can make a door snake yourself using materials that are easy to work with and readily available.
One option is crumbed foam, which is commonly used as a filling material because it’s soft, lightweight, and easy to shape.
Here’s a suitable product for this purpose.
When a door snake makes more sense
A DIY door snake is a good choice if:
The draught is mainly coming from the bottom of the door
The gap is larger or uneven
You want something removable or adjustable
You prefer a no-installation solution
It’s especially useful for renters or anyone who doesn’t want to modify the door frame.
How to make a simple door snake
You don’t need many materials:
Fabric (an old towel, curtain, or sturdy cloth)
Filling (crumbed foam works well)
Scissors
Needle and thread or fabric glue
Basic steps:
1. Cut your fabric
Cut your chosen fabric into a long rectangle approximately 10–15 cm wide and around 90 cm long. Be sure to measure the width of your door first, so the snake will fit nicely across the base of the door with no gaps.
2. Sew or glue two sides
Fold the long rectangle in half so the width becomes 5–7.5 cm on each side. Sew or glue one end, and the long 90cm side. Once finished sewing or glue has dried, pull the tube inside out to hide the raw edges and to create a tube shape.
3. Fill with foam
Add enough filling to make it firm but flexible.
4. Sew or glue the remaining end
Sew or glue the open side closed. To hide the raw edges, you can fold the material inwards by 0.5cm before sewing along the top, or glueing in between.
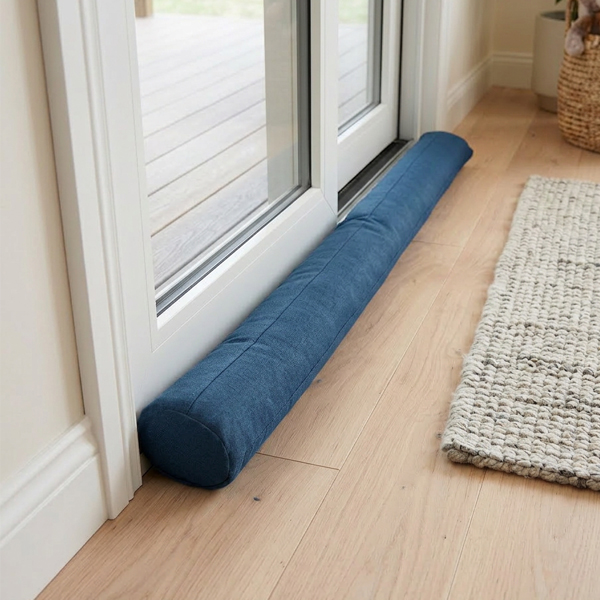
5. Place along the door base
Position it snugly against the gap. Congratulations! You have made a door snake.
Extra tip!
If you would like to personalise your door snake, you can create a stripy door snake by using multiple strips of fabric and sewing/glueing it together. Your door snake can be practical and stylish all at once.
Practical benefits of making a door snake
Quick and low-cost to make
Easy to remove or reposition
Works well for larger gaps
Can be customised to match your space
Can be personalised to match your style
Things to consider
Needs repositioning if moved
Doesn’t seal side gaps
Rubber seals vs. door snake: which should you choose?
Both options solve the same problem in different ways. Choosing between them depends on where the draught is coming from and how permanent you want the fix to be.
Choose rubber seals if:
The draught is around the edges of the door
You want a set-and-forget solution
You prefer a cleaner, less visible fix
Choose a door snake if:
The draught is coming from under the door
The gap is too large for sealing tape
You want something that can be moved and adjusted
In many cases, you’ll get the best result by using both
It’s common for draughts to come from multiple points. Combining both methods can give you a more complete solution:
Foam tape for the sides and top
Door snake for the bottom
This approach helps reduce airflow from all angles without overcomplicating the fix.
Common questions from shoppers
“How do I know where the draught is coming from?”
A simple way is to run your hand slowly around the edges of the door on a windy day. You can also use a thin piece of tissue. If the tissue moves, there’s airflow.
“Will this completely stop the draught?”
These solutions significantly reduce draughts, but the result depends on how well they match your door’s condition. Large structural gaps or warped doors may need additional work. Visit your local Clark Rubber store to speak to one of our experts about other rubber seal alternatives for large gaps and warped doors.
“Will foam tape damage my door frame?”
The Clark Rubber adhesive tapes are designed to be removable, but it’s always a good idea to apply them to clean, dry surfaces and remove them carefully if needed.
“How long will a door snake last?”
A door snake that is made with durable fabric and quality filling such as Clark Rubber Crumbs can last a long time with basic care.
“Can I use one solution instead of the other?”
Yes you can, but they solve different problems. If you only use one, make sure it targets the main source of the draught.
Stopping a front door draught doesn’t need to be complicated. Whether you go with adhesive foam tape for a more fixed solution or a DIY door snake for flexibility, both options are practical and accessible.
If you’re unsure, start by identifying where the draught is strongest and speaking to one of our experts instore. From there, you can choose the option or combination that works best for your space.
A small fix at the door can make your home feel noticeably more comfortable and warmer during the winter months.