


If you're like us and love a good DIY project while saving a few $$ along the way then READ THIS POST
We've used the Windsor 35mm from Clark Rubber and if you would like to see more of their artificial grass range and pricing click here
Here are the steps we took prior to installation of the grass:

1. If the grass goes up against a pathway, driveway, etc you would usually want to excavate enough to make sure everything fits nicely i.e the aim is to have the grass to end up level or a bit higher than the joining surfaces.
The WINDSOR Artificial grass from Clark Rubber is 35mm high so here's how we worked out our excavation number
35mm grass + 30mm crusher dust and 60mm crushed rock = 125mm Excavation
With that number you'll be able to determine how much you need to take off everywhere

2. Once the excess soil is removed, conduct a good site clean up and make sure no debris is left in the soil. This is how ours was after excavation, we did have a little bit to clean up but it was worth doing. Don't worry too much about the uneven bits of soil, as long as they're not too high.. it'll all be flattened later on.
The aim of having excavation done throughout is to have it levelled as much as possible with a tiny bit of slope towards your drains. It doesn't need to be perfect but the more you can get it right from that stage, the better and easier your grass installation will be ☺️
3. Next thing we did was fit all our steel garden edging along the timber fencing and the driveway.
4. Spread your crushed rock all over the surface and use a plane compactor to flatten the surface. Depending on what thickness you're going with, to get a firm and solid base, best to do about 30mm at a time.

We also found that compacting it bit by bit allowed us to see which sections needed some more and which ones had too much... definitely easier to correct it that way.

5. Once turned into a nice solid base, add your crusher dust and use the plate compactor again. At this stage, you should be able to do the whole amount in one go if you want.
Now that you have a nice flat area, time to lay your pavers with a bit of mortar.. we made sure to work out the design we wanted with the pavers beforehand so we didn't have to fiddle around with it comes the time to install them.

ONTO THE GRASS INSTALLATION:
- First step is to determine which direction you want your grass to be in. The best way to work this out is to do a little sketch but in summary you want your grass to be in the direction where you have the least amount of joins.

Ours worked out to be 2 joins and we also didn't want them to the centre of the pavers so we started with the middle piece and worked our way outwards from there.
- Roll out the full roll of artificial grass up to where it needs to stop, measure it on both sides and cut it. Once in place, fold it as per the picture below
Remember to always cut inwards (you want your cut line to be on the piece that will be thrown out) as per the little sketch here

Once your cuts are done, fold the rest out and lay it flat. Do the same thing for the rest of the strips.
It's always best to join the strips before cutting the edges or anything in between but we had so many things like a bench seat, septic
tank, pavers, rendered wall...etc... that we did have do the cutout some of the edges and the pavers first before joining the strips. Do what would work best for you and your situation... there's no right or wrong. Just tripple check everything before cutting
TIP: Always cut on the backing side not on the grass side and make sure the blade runs in-between two stitch rows. The grass also has a direction to it, so make sure both pieces of grass are running in the same direction before joining


Once everything is cut, joined (using the joining tape) and once it's all looking pretty good, you can then start tapping in the nails to keep the grass in place. Add them in to all the edges and corners first then work your way in.
The last couple of steps are the easiest but one thing we did learn is that there was a specific type of sand for artificial grass and you also need to make sure the grass is COMPLETELY DRY before adding the sand... not following this little step will completely ruin all your hard work. So check your weather forecast and make sure you've got some sunlight before starting this step.
Spread the sand across the whole area and brush it into the grass, you'll literally see come to life (it's pretty cool) ☺️
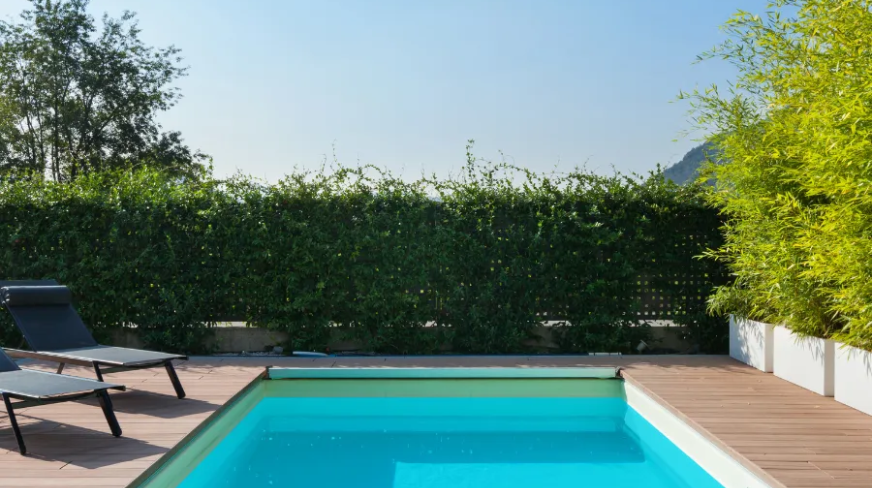
And now it's time to sit back, relax and enjoy your beautiful new lawn! ☺️ It's an even better feeling when you do it yourself 💕👏


